Most homeowners don’t think about their gutters until there is a problem. A waterfall cascading over the front door during a storm or a basement that suddenly smells damp are usually the first signs that your water management system has failed. When the time comes to replace that system, seamless gutters are widely considered the gold standard for durability and aesthetics. But what actually happens during the seamless gutter installation process?
Unlike traditional sectional gutters that you can buy in pieces at a home improvement store, seamless gutters are a custom-manufactured product. They require specialized machinery, precise measurements, and a level of expertise that goes beyond the average DIY project.
In this comprehensive guide, we will walk you through the entire gutter installation process , from the moment you pick up the phone to the final cleanup. We will demystify how these custom-fit gutters are created right in your driveway and explain why professional installation is critical for protecting your home’s foundation and roof.
Step 1: The Initial Consultation and Assessment
Every successful home improvement project begins with a plan. You cannot simply show up with a roll of aluminum and start hanging gutters. The first step is a thorough evaluation of your home’s specific needs.
Evaluating the Existing System
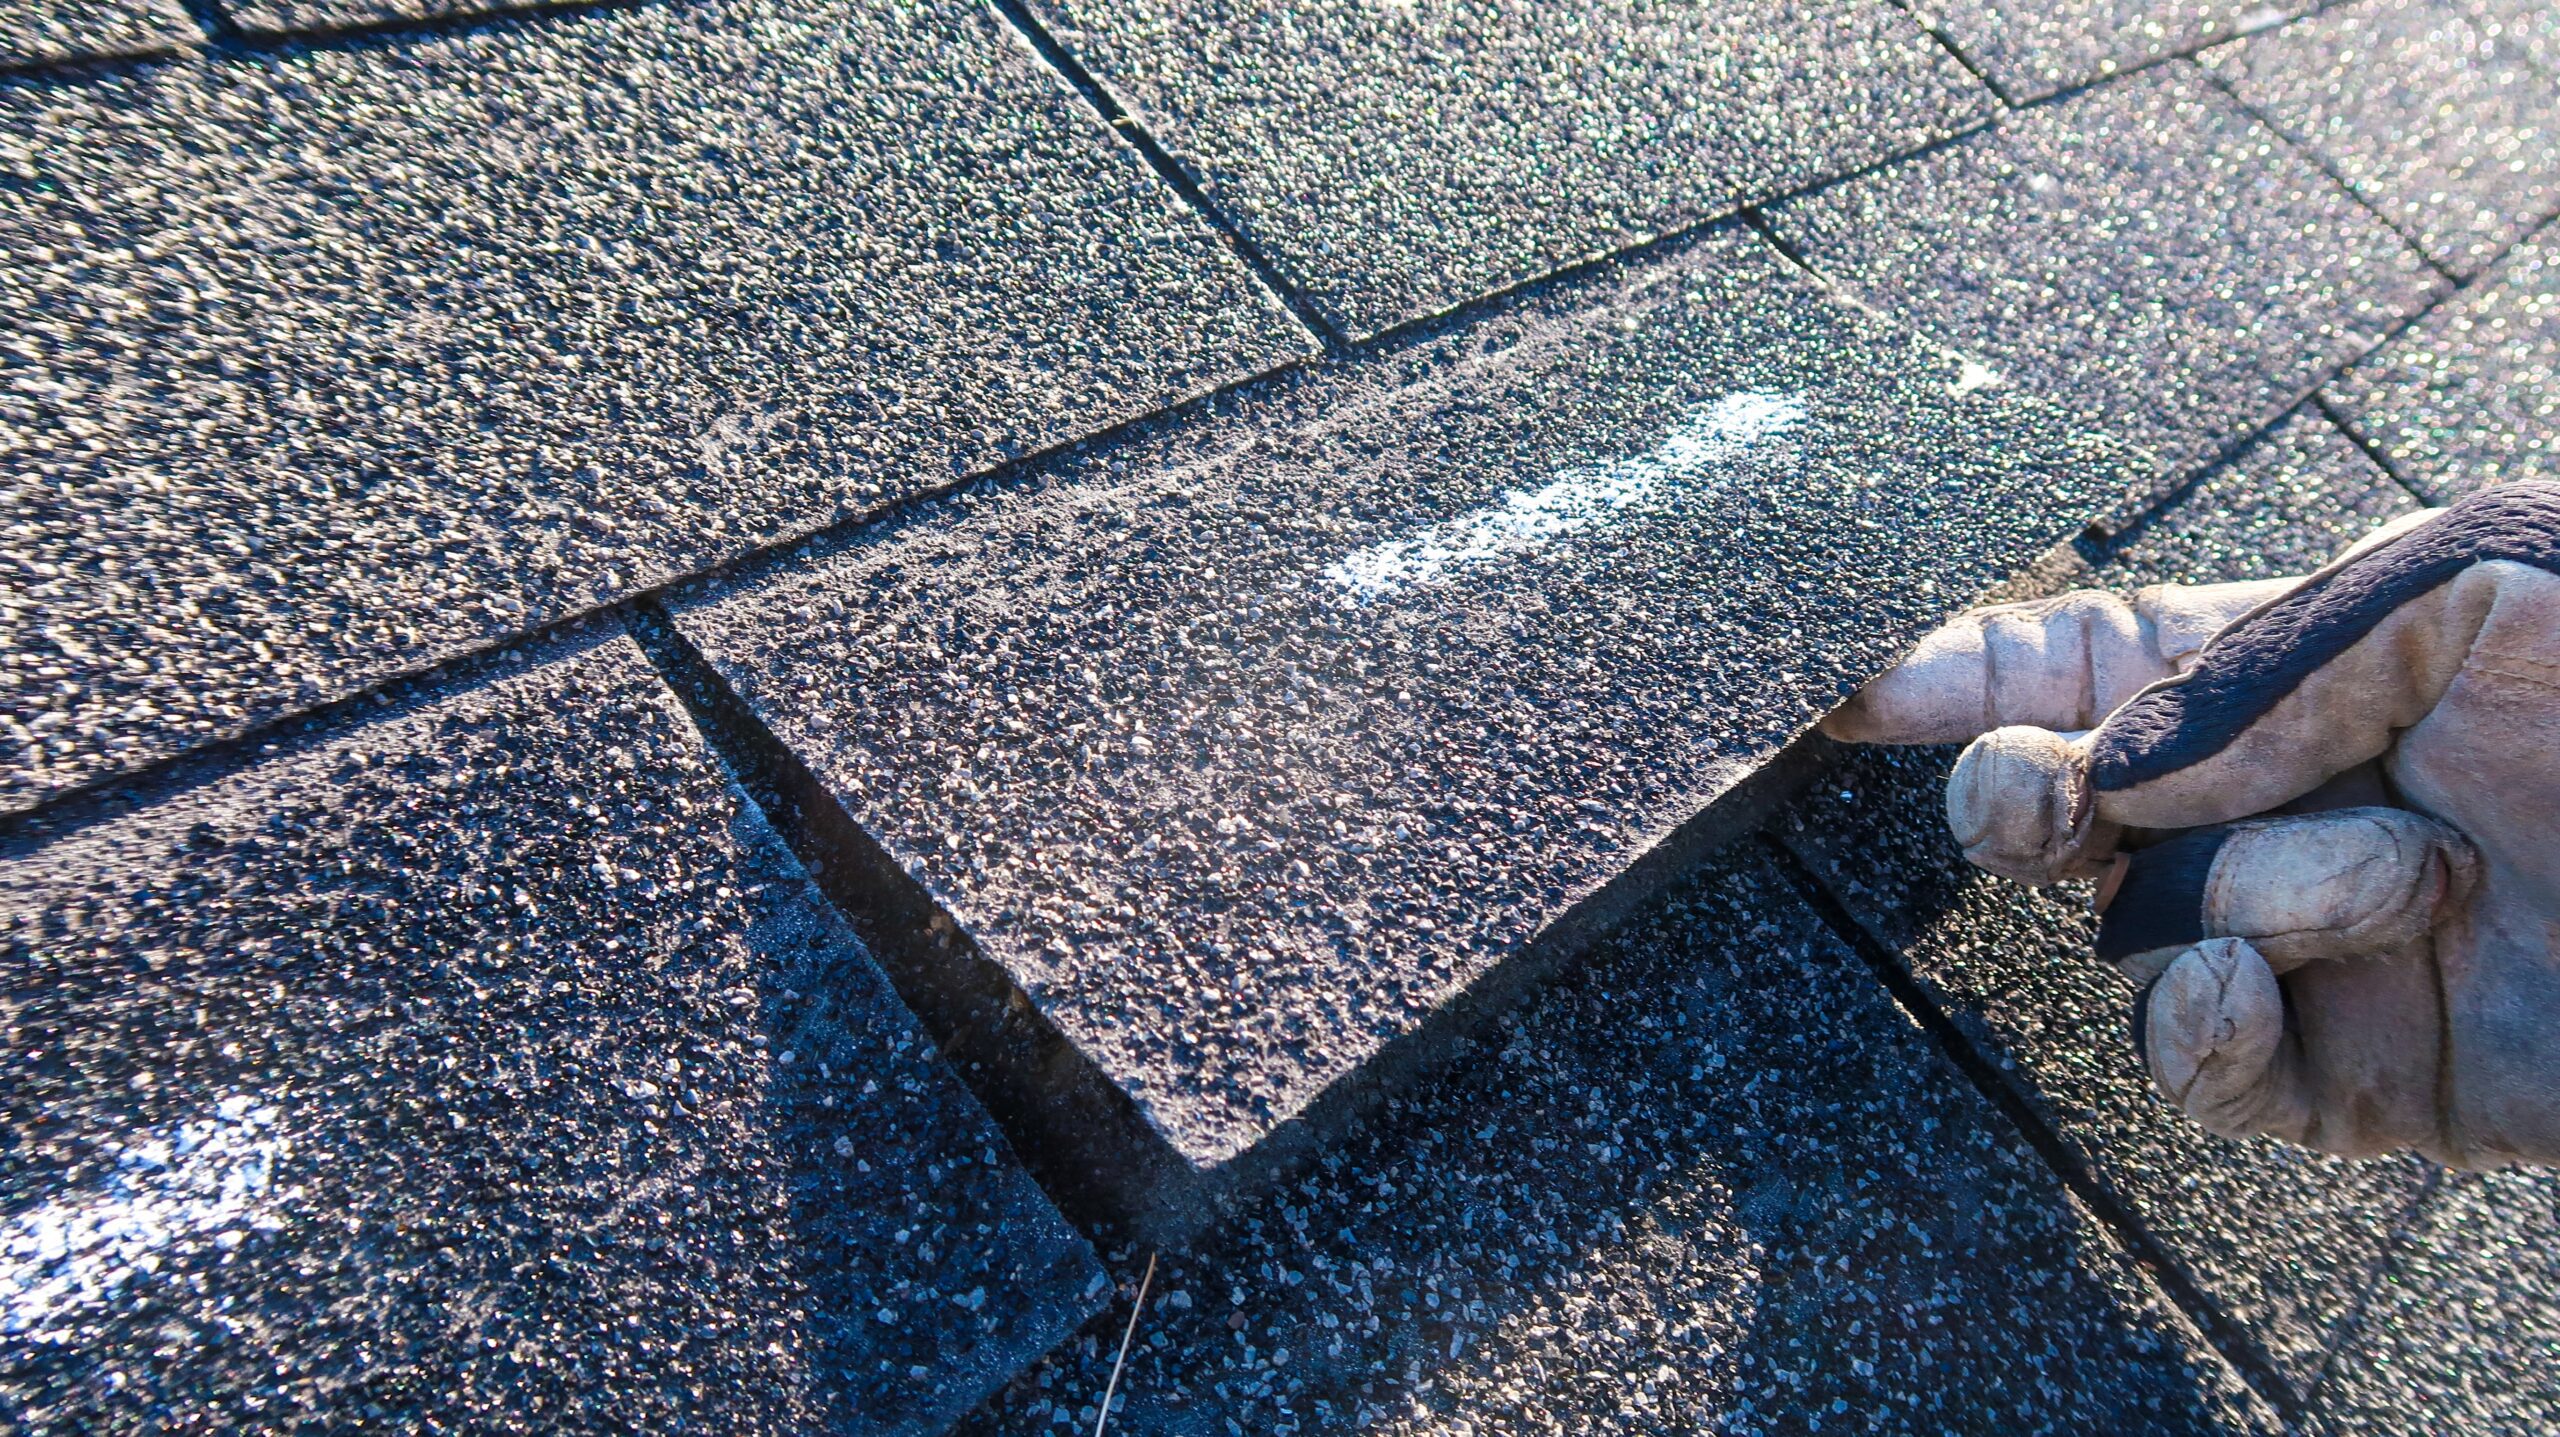
When a professional estimator arrives at your property, they start by looking at what is currently there. Are the old gutters sagging? Is the fascia board behind them rotted? Are the downspouts placed in areas that cause water to pool near the foundation?
Identifying these issues early is crucial. If the fascia board (the wooden board that runs along the roofline) is soft or rotting, it cannot support the weight of new gutters. Installing new metal over bad wood is a recipe for disaster. A reputable installer will always check for structural integrity before planning the new system.
Measuring the Roofline
Precision is everything in seamless gutter installation . The installer will measure the exact length of every roof edge where gutters will be placed. Because seamless gutters are extruded in one continuous piece, these measurements need to be exact. There is no "cutting it short and adding a piece later" without compromising the integrity of the seamless design.
Determining Water Volume Needs
Not all roofs shed water the same way. A steep, expansive metal roof will shed water much faster and with more force than a flat, asphalt shingle roof. The estimator will calculate the square footage of the roof area and the pitch to determine the size of the gutter needed.
- 5-inch gutters: The standard for most residential homes.
- 6-inch gutters: Often necessary for larger roofs, steep pitches, or areas with heavy rainfall.
Choosing the right size is a critical part of the gutter installation process to ensure your system doesn’t overflow during heavy storms.
Color and Material Selection
This is the fun part. You will get to choose the color and material that best complements your home. While white is traditional, many homeowners opt for colors that match their trim or siding to make the gutters blend in seamlessly. Materials usually include aluminum (the most popular), copper, or steel.
If you are unsure what your home needs, our team at Cola City Roofing can guide you through our gutter installation services to find the perfect match for your aesthetic and budget.
Step 2: Preparation and Removal of Old Gutters
Once the plan is set and the quote is accepted, the installation crew arrives. The first order of business is usually "out with the old."
Careful Removal
Removing old gutters isn’t just about ripping them off the house. It requires care to avoid damaging the roof shingles, the drip edge, or the siding. The crew will unscrew the hangers and carefully lower the old sections to the ground.
Inspecting the Fascia and Soffit
This is the moment of truth. With the old gutters gone, the fascia board is fully exposed. The installers will do a final check for rot, mold, or damage.
- Minor repairs: Sometimes, a small area of wood needs to be replaced or reinforced.
- Major rot: If significant damage is found, work may pause briefly to replace the fascia board. It is vital to have a solid nailing surface for the new system.
Correcting the Drip Edge
The drip edge is a metal flashing that sits under the shingles and hangs over the edge of the roof. Its job is to direct water into the gutter, not behind it. If the existing drip edge is damaged or missing, water can wick back up under the shingles or run down behind the gutter, rotting the fascia. Installers will ensure the drip edge is positioned correctly before proceeding.
Step 3: On-Site Fabrication – The "Seamless" Magic
This is the step that sets seamless gutter installation apart from traditional methods. Instead of a truck full of pre-cut 10-foot sections, the crew arrives with a specialized machine trailer.
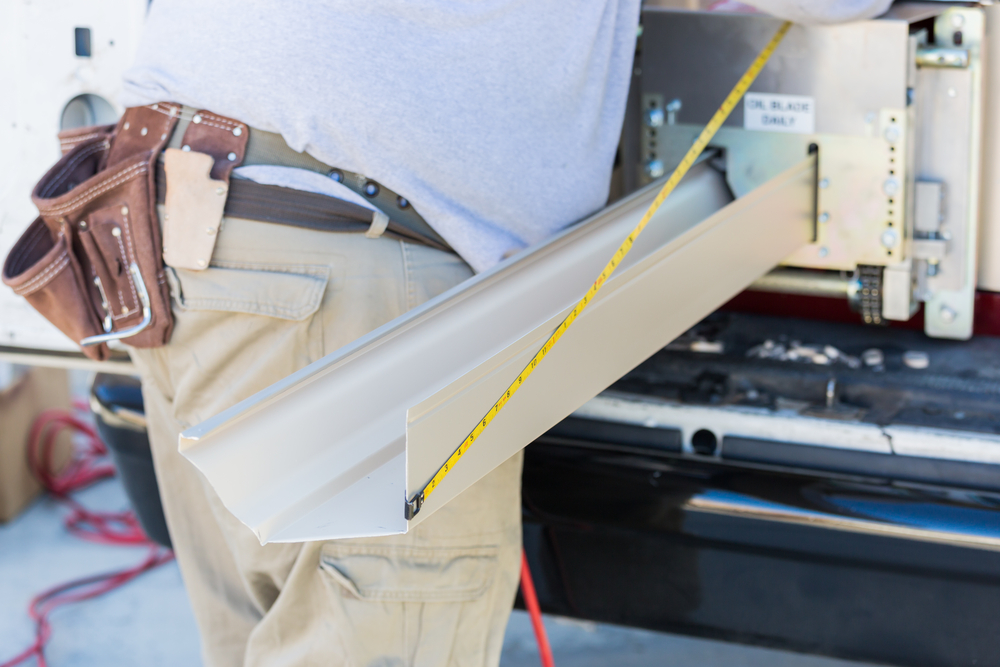
The Gutter Machine
Inside the truck or trailer is a portable roll-forming machine. It holds a large coil of flat metal (usually aluminum) in the color you selected.
- Feeding the Coil: The flat metal is fed into one end of the machine.
- Roll Forming: As the metal passes through a series of rollers, it is bent and shaped into the gutter profile (usually the "K-style" profile).
- Custom Lengths: The machine continues to extrude the gutter until it reaches the exact length required for a specific section of your roof.
- Cutting: Once the precise length is reached, the installer uses a guillotine-style cutter to slice the gutter cleanly.
Why On-Site Fabrication Matters
By manufacturing the gutters at your home, the installers ensure that a 50-foot roofline gets a single 50-foot piece of gutter. There are no seams to leak, no connectors to weaken, and no waste. It is a truly custom-fit gutter solution tailored to your home’s dimensions.
Step 4: Installing Hardware and Hangers
Before the gutter goes up on the house, it needs to be prepped on the ground. This involves installing end caps and cutting the outlet holes for the downspouts.
The Problem with Spikes and Ferrules
In the past, gutters were often hung using "spikes and ferrules"—long nails driven through a metal tube into the fascia. While cheap, this method has a major flaw: over time, the weight of ice and water pulls the nail loose. Once that nail starts to back out, the gutter sags.
Hidden Hangers: The Modern Standard
A professional gutter installation process uses hidden hangers. These are brackets that clip inside the gutter and are screwed directly into the fascia board using heavy-duty screws.
- Strength: Screws hold much better than nails and resist pulling out over time.
- Aesthetics: Because the hangers are inside the gutter, they are invisible from the street, providing a cleaner look.
- Spacing: Installers place these hangers every 18 to 24 inches to ensure the gutter can support heavy loads of water, wet leaves, or snow.
Step 5: Hanging the Gutters – The Importance of Pitch
This is the most technical part of the installation. To the naked eye, gutters look like they are hung perfectly straight and level with the roofline. However, if a gutter is perfectly level, water will just sit in it.
Calculating the Slope
Gutters must have a slight, imperceptible slope (or "pitch") toward the downspouts to rely on gravity for drainage. The industry standard is typically about 1/4 inch of drop for every 10 feet of gutter.
- Too much slope: The gutter looks crooked and aesthetically unpleasing.
- Too little slope: Water pools in the gutter, leading to mosquito breeding grounds, corrosion, and overflow during heavy rain.
Experienced installers use levels and chalk lines to snap a guide on the fascia board, ensuring the pitch is steep enough to drain water but subtle enough not to be noticed from the curb. This balance of function and form is why professional seamless gutter installation is superior to DIY attempts.
Corner Miters
If your roof has corners (which most do), the long seamless runs need to be joined. Even though the straight runs are seamless, corners require a connection.
- Box Miters: Prefabricated corners that the gutters slide into.
- Strip Miters: A more custom approach where the gutter is cut at a 45-degree angle, and a thin strip of aluminum covers the seam.
- Hand-Cut Miters: The most skilled installers can cut the metal tabs and fold them to create a corner with a single seam.
Regardless of the method, the corner seams must be sealed liberally with a high-grade, UV-resistant gutter sealant to prevent leaks. This is the only place on a seamless system where leaks are possible, so professional sealing is critical.
Step 6: Downspout Installation
The gutters collect the water, but the downspouts are responsible for carrying it away. Proper downspout placement and installation are essential for protecting your foundation.
Placement Strategy
Ideally, downspouts are placed at the corners of the house or in unobtrusive areas. The goal is to move water away from high-traffic areas (like walkways) and vital landscape features.
Assembling the Elbows and Extensions
Downspouts rarely go straight down from the gutter to the ground. They have to navigate the overhang of the roof (the soffit).
- Top Elbows: Two elbows and a short piece of downspout pipe are used to bring the water from the gutter outlet back to the wall of the house.
- Strapping: The downspout is secured to the siding or brick using straps. These straps hold the pipe firmly in place so it doesn’t rattle in the wind or detach during a storm.
- Bottom Elbow: At the bottom, an elbow directs the water outward, away from the foundation.
Diverting Water Away
The gutter installation process isn’t finished until the water is moving away from the home. Dropping water right at the base of the foundation is one of the leading causes of basement leaks and structural settling. Installers will add splash blocks or downspout extensions to ensure water is discharged at least 3 to 5 feet away from the house.
Step 7: Adding Gutter Protection (Optional but Recommended)
While not strictly part of the gutter trough installation, many homeowners choose to install gutter guards or leaf protection systems at the same time.
Installing guards during the initial seamless gutter installation is often cheaper and easier than adding them later. These screens, hoods, or mesh inserts prevent leaves, pine needles, and twigs from entering the gutter while allowing water to flow through. This reduces maintenance and ensures the system flows freely year-round.
Step 8: Final Sealant and Inspection
Once everything is hung, screwed in, and strapped down, the crew performs a final quality control check.
Sealing the End Caps and Outlets
Every end cap (the piece that closes off the end of a gutter run) and every outlet (where the water drops into the downspout) must be sealed. Installers use a specialized mastic that stays flexible. It won’t crack when the metal expands and contracts with temperature changes.
Cleaning the Gutters
Installation creates debris—metal shavings, screws, and bits of caulk. A good crew will sweep or blow out the new gutters to ensure they are perfectly clean and ready for the first rain.
The Water Test
In some cases, installers will perform a water test using a hose to verify that the water flows correctly toward the downspouts and that there are no leaks at the corners. They check to ensure no water is pooling in the middle of a run, confirming that the pitch was calculated correctly.
Step 9: Site Cleanup
A professional job site should look better when the crew leaves than when they arrived. The gutter installation process generates waste, including the old gutters, sharp metal scraps, and packaging.
The crew will:
- Load the old gutters onto the truck for recycling.
- Use magnetic sweepers to pick up any dropped screws or nails from your driveway and lawn (crucial for protecting your tires and your feet!).
- Blow off walkways and driveways to remove aluminum shavings.
At Cola City Roofing, we take pride in respecting your property. We treat your home as if it were our own, ensuring a spotless cleanup.
Why Professional Installation Beats DIY
After reading through these steps, you might wonder, "Can I do this myself?" While you can buy sectional vinyl gutters and try to glue them together, true seamless gutter installation is strictly a professional service because of the machinery required.
Beyond the equipment, the expertise matters.
- Safety: Gutter work involves standing on ladders, often at significant heights, while handling long, unwieldy pieces of metal. Professionals have the training and safety gear to do this without injury.
- Structural Integrity: Improperly hung gutters can pull fascia boards off the house or cause ice dams that damage the roof.
- Water Management: Incorrect pitch or downspout placement can lead to water pooling against your foundation, causing thousands of dollars in damage.
- Warranty: Professional installations come with warranties on both materials and labor. If a leak develops or a hanger comes loose, you have recourse. A DIY job has no warranty.
How Long Does the Process Take?
One of the great advantages of professional seamless gutter installation is the speed. Because the gutters are fabricated on-site and the crews are highly specialized, most average-sized residential jobs can be completed in a single day. Larger homes or complex rooflines with many corners and valleys may take two days.
This means minimal disruption to your daily life. You leave for work in the morning with old, leaky gutters, and come home to a sleek, efficient, custom-fit gutter system.
Maintaining Your New Investment
Once your new gutters are installed, they need very little from you, but they aren’t entirely "set it and forget it."
- Cleaning: Even seamless gutters need to be cleaned of leaves and debris at least twice a year (spring and fall) unless you have high-quality gutter guards.
- Visual Checks: Periodically walk around your home during a rainstorm. Check that water is coming out of the downspouts and not overflowing the edges.
- Inspecting for Damage: After severe storms, check for dents from hail or falling branches.
Proper maintenance ensures that your new seamless system will last for 20 years or more.
Conclusion: A System You Can Trust
The gutter installation process is a blend of construction science and craftsmanship. It requires understanding water dynamics, structural load, and aesthetic design. When done correctly, seamless gutters become an invisible shield for your home, diverting thousands of gallons of water away from your foundation every year without you ever having to worry about it.
Investing in custom-fit gutters is investing in the longevity of your entire home. From the roof to the basement, effective water management is key to preventing rot, mold, and structural damage.
Ready to Upgrade Your Home’s Protection?
If your current gutters are leaking, sagging, or just plain ugly, don’t wait for the next storm to cause damage. Experience the difference of a professional, hassle-free installation.
At Cola City Roofing, our expert teams are ready to assess your home and provide a custom seamless solution that fits perfectly and performs flawlessly. Contact us today to schedule your free estimate and take the first step toward a drier, safer home.