Before drywall goes up, you can see the underside of the roof, the framing and every pipe and duct that runs through the attic. That view disappears once insulation and ceilings go in. A careful walk with a camera and a flashlight costs you nothing but an hour, and it's the best look at the roof you'll get on a new home.
This post covers the roof and attic items you can see at pre-drywall, what to photograph, and what to ask. It's written for buyers of new homes in subdivisions around Columbia, Lexington, Blythewood and Chapin.
Why the roof matters at pre-drywall
Local inspectors look at the roof during the framing stage, before anything is covered. The City of Columbia says roofing is among the work that must not be concealed until the rough-in and framing inspection is approved. Richland County lists a separate sheathing inspection before rough-in. The Town of Lexington's inspection sheet puts roofing and flashing under its framing inspection.
Those inspections check minimum code items for the office. They aren't a review done for you. Your own visit fills the gap and gives you dated photos of things that will soon be hidden.
How to set up the visit
- Ask the builder in writing for a pre-drywall appointment, and confirm the date by email.
- Ask which site rules apply, such as hard hats, closed-toe shoes or an escort.
- Ask whether the framing or rough-in inspection has passed. In Columbia, inspectors post results in the City's Access portal.
- Bring a phone with plenty of storage, a flashlight and a notepad.
Stay safe on an active site
Don't climb ladders, walk on open joists or go onto the roof. Everything on this list can be seen from the floor, from a stair landing, or from where the builder says it's safe to stand.
Roof and attic items to look at
The underside of the roof deck
Look up at the sheathing between the trusses or rafters. Note any dark patches, water stains or warped panels. Rain during construction is normal, but a stain that looks fresh is worth a photo and a question.
Daylight at the ridge
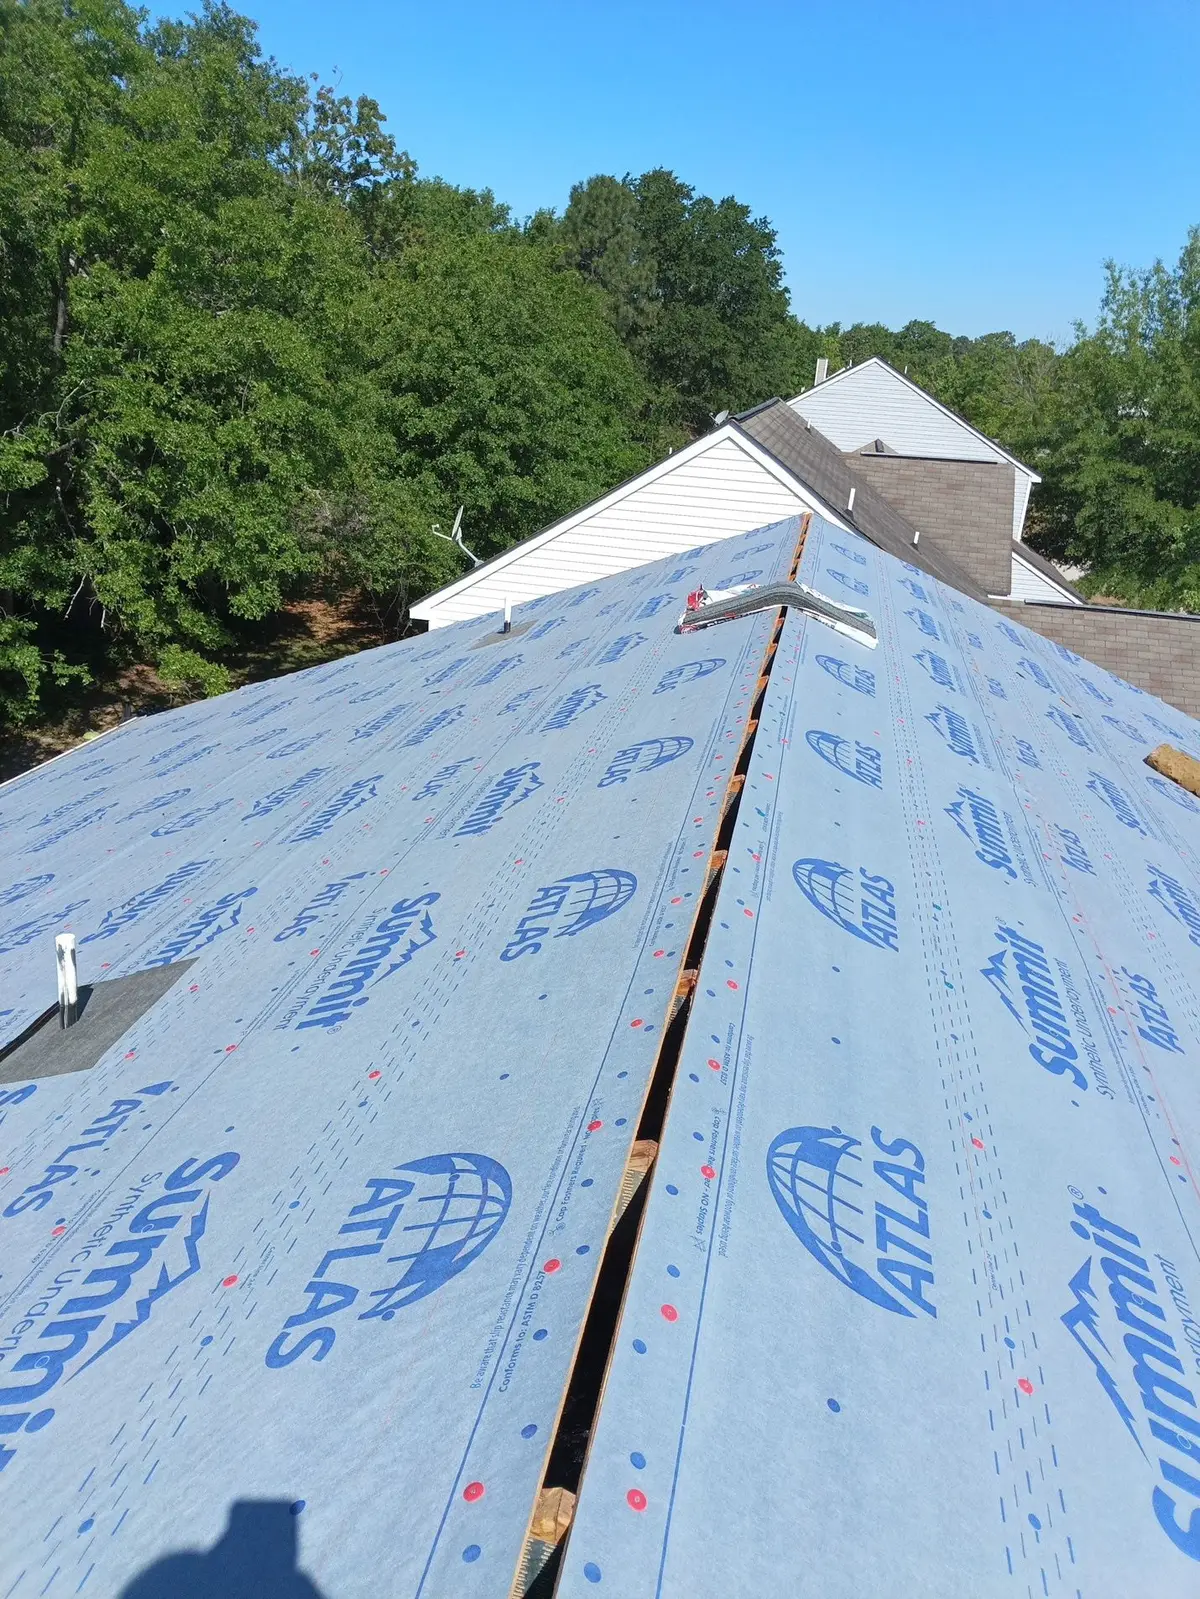
A continuous gap of daylight along the peak is often the cut-out for a ridge vent. Photograph it. Later you can compare it with the finished vent you see from the ground. Daylight in other places, such as along a wall or around a pipe, is worth asking about.
Roof penetrations
Find every pipe, flue and duct that passes through the roof. Photograph each one from below with something in the frame that shows which room it's over. If a leak shows up next year, these photos tell you where to look.
Exhaust ducts
Bath fans and kitchen hoods move moist air. Ask the builder to show you where each duct ends, and photograph the route. Our post on bathroom and kitchen exhaust vents explains why the endpoint matters.
Eaves and soffit areas
Intake air for the attic usually comes in at the eaves. Look at the soffit areas from inside and note whether there is a clear path from the eave into the attic. Ask how the insulation will be kept from blocking it. The roof ventilation guide explains intake and exhaust balance.
Walls that meet the roof
Where a lower roof meets a taller wall, such as over a porch or garage, water has to be turned away by flashing. From outside, look at those joints before siding hides them and take photos. Our chimney flashing post shows what that metal work does.
What you usually can't see at this stage
From inside, you won't see the underlayment, the drip edge or how shingles are nailed. Those are outside, on top of the deck. If you want to know which underlayment is going on, ask the builder in writing. For the code side, see underlayment rules in South Carolina and drip edge and the SC code.
Pre-drywall roof checklist
Roof and attic items to photograph before drywall
| Item | What to note | Photo tip |
|---|---|---|
| Roof sheathing underside | Stains, dark patches, warped panels | One wide shot per room, then close-ups |
| Ridge | Continuous daylight slot or not | Shoot the full length if you can |
| Pipes, flues, ducts | Where each one exits the roof | Include a doorway or window for location |
| Exhaust duct endpoints | Where bath and kitchen ducts end | Ask the builder to point them out |
| Eaves and soffits | Clear air path from eave into attic | Shoot along the eave line |
| Roof-to-wall joints | Flashing in place before siding | From outside, from the ground |
Questions to ask while you're there
- Which underlayment and shingle product are going on, and in what color?
- Which company is installing the roof, so you can check its registration with LLR?
- Has the sheathing or framing inspection passed, and can you see the result?
- How will soffit intake stay clear once insulation is blown in?
- Will any roof penetrations be added after drywall, such as a range hood or extra bath fan?
Ask for the answers by email. Short written replies now save a lot of back-and-forth if a question comes up at the final walkthrough.
After the visit
Send the builder a short email listing anything you want explained or fixed, with photos attached. Ask for answers in writing. Save the photos in a dated folder with your contract, because you'll want them at the final walkthrough and the 11-month walkthrough.
If you want a second set of eyes, a licensed home inspector or a roofer can join you. Under S.C. Code §40-59-520, people who sell home inspections in South Carolina must hold a home inspector license. The full process, from framing to the first-year check, is in our new-home roof guide.